Posting a Doberman’s Ears Yourself to Save Money
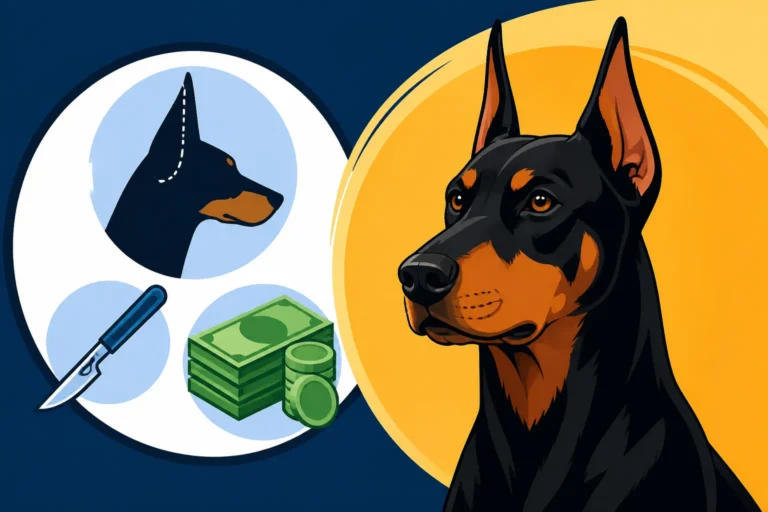
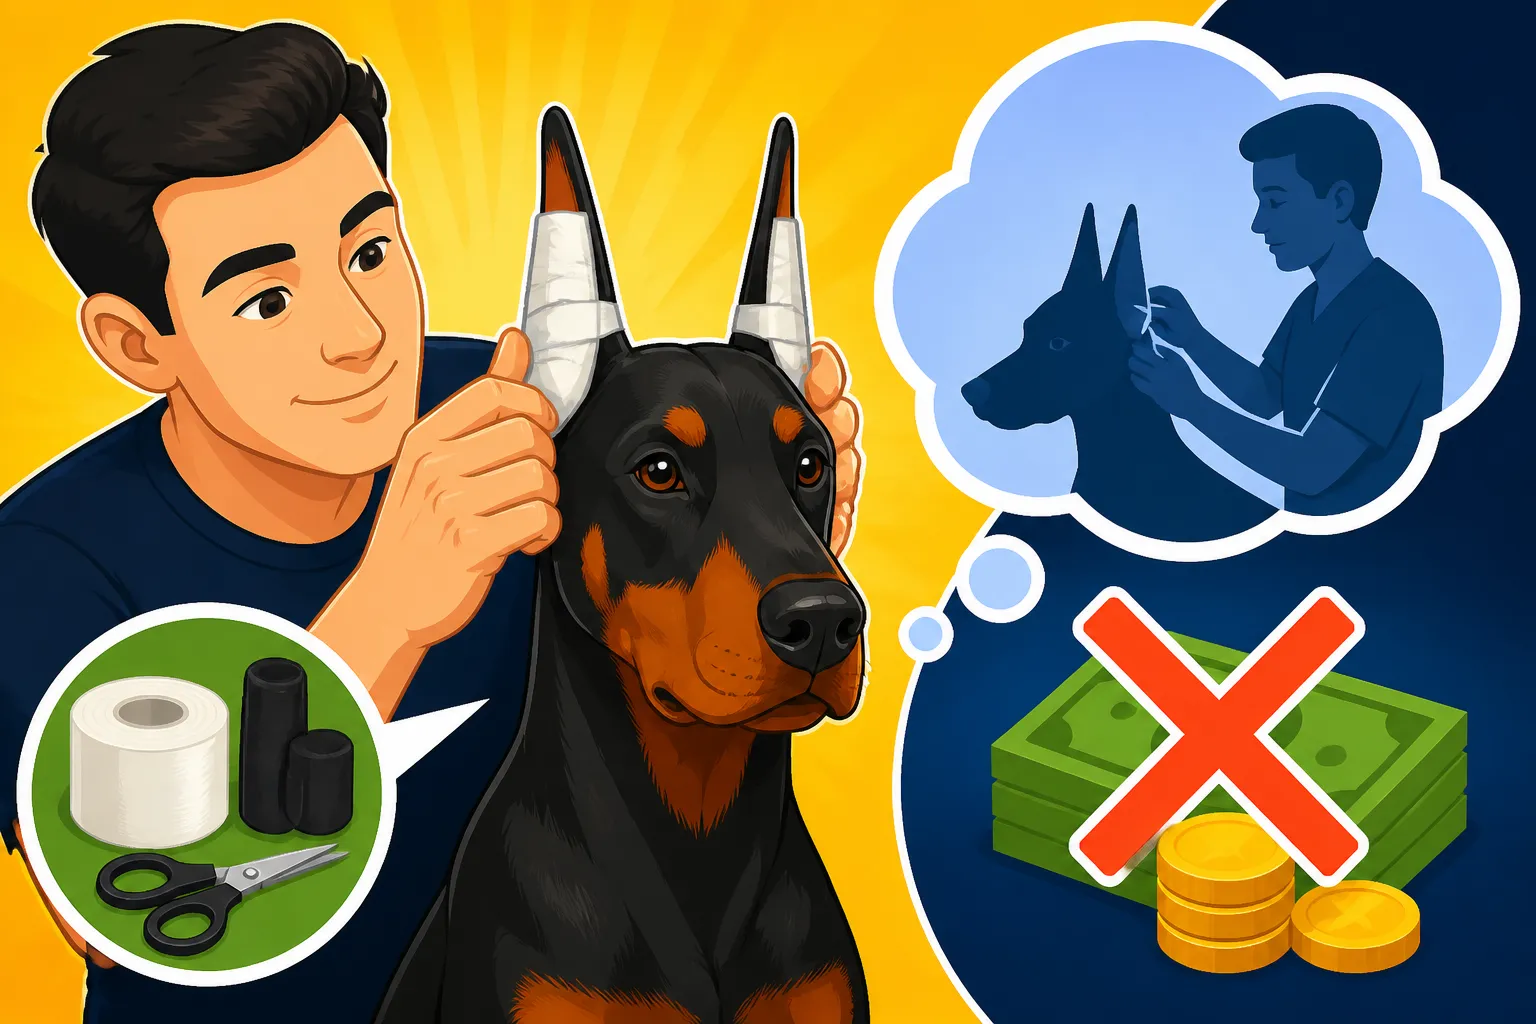
The cost of getting a Doberman's ears cropped is just the start; the ongoing expense and commitment of posting them until they stand correctly can be a real shock to many new owners. You’ve likely heard about the continuous trips to the vet or experienced breeders for professional ear posting, and the bills can quickly add up. This guide is here to walk you through the process of posting your Doberman’s ears yourself, detailing the supplies you’ll need, the steps to follow, and the common pitfalls to avoid, all with the goal of saving you some money while still achieving those perfectly upright ears.
The Realities of DIY Doberman Ear Posting
Let’s be honest, the idea of doing something yourself to save money is incredibly appealing, especially when you see the price tag attached to professional ear posting services. However, it's crucial to understand that posting Doberman ears is not a quick fix or a simple band-aid job. It’s a dedicated process that requires immense patience, consistency, and a good dose of perseverance. Many Doberman owners start out with the best intentions, only to find themselves overwhelmed by the sheer time commitment and the delicate nature of the task.
Understanding the Time and Effort Involved
Imagine setting aside a block of time every few days, sometimes daily, for months on end. That’s the reality of ear posting. Typically, Doberman ears need to be posted continuously from the time the stitches come out (usually 7-10 days post-surgery) until the cartilage is strong enough to stand on its own. This can be anywhere from 3 to 6 months, but for some Dobermans, especially those with heavier ear leather or slower cartilage development, it can stretch to a year or even longer. Every time a post falls out, or you need to change them, it's another session. Forgetting or skipping days can mean the ears fall, and you're essentially starting over with that progress lost. It's not uncommon to feel like you're in a constant battle with gravity and a wiggly puppy, and the emotional toll can be just as significant as the financial one if you're not prepared for the long haul. Many people mistakenly think it’s just a few weeks, but the truth is it's a marathon, not a sprint, and your dedication is the most important tool you have.
Why Consistency is Non-Negotiable
Think of your Doberman's ear cartilage like clay. While it's soft and pliable, you can mold it into the desired shape. The posts provide the support for this "molding" process. If the posts are removed for too long, or not re-posted correctly and quickly, the ear can easily revert to its natural dropped position. This is why consistency is absolutely critical. You can’t afford to be lackadaisical about it. If you remove the posts for cleaning, they need to go back in as soon as the ears are dry. If a post gets wet or falls out, it needs immediate attention. Each day the ear isn't properly supported can set you back significantly. This commitment means rescheduling outings, being mindful of play sessions that might dislodge a post, and always having your posting supplies at the ready. It's a lifestyle adjustment for several months, and it's something you need to be honest with yourself about whether you can truly commit to.
Essential Supplies and Where to Find Them
Before you even think about touching your Doberman’s ears, you need to gather all your tools. Don't underestimate the importance of having the right supplies. Using the wrong tape, for instance, can lead to severe skin irritation or even infection, negating any cost savings with a vet visit. While buying these items might seem like a small upfront expense, remember you'll be restocking them regularly over several months. You can often find these items at your local pharmacy, pet supply store, or through large online retailers like Chewy.
What You'll Need and Why
Here's a breakdown of the essential items you'll want to have on hand:
- Zonas Porosity Tape: This is the gold standard for Doberman ear posting. It's a breathable, porous tape that adheres well but allows the skin to breathe, reducing the risk of moisture buildup and skin irritation. Avoid electrical tape or duct tape at all costs; they don't breathe and can cause serious skin damage.
- Backer Rod or Tampons: These form the core of your posts. Backer rod is a foam insulation material typically found at hardware stores, available in various diameters. It's flexible, lightweight, and easy to cut. Unscented tampons are another popular choice, particularly for younger puppies with smaller ears, as they are absorbent and provide good support.
- Skin Adhesive/Prep Wipes (Optional but Recommended): Products like Tuf-Skin or other surgical prep wipes can help the tape adhere better, especially if your Doberman has oily skin. They also create a protective barrier.
- Adhesive Remover: Absolutely crucial! Products like Uni-Solve or Detachol help dissolve tape adhesive gently, preventing painful pulling on your Doberman's delicate skin when removing old posts. Never rip off tape without it.
- Medical Scissors (Blunt-End): Sharp scissors with blunt ends are best for cutting tape and other materials safely near your Doberman's skin, reducing the risk of nicks or cuts.
- Cotton Balls/Swabs and Alcohol/Witch Hazel: For cleaning the ears thoroughly between postings, removing any residue, and ensuring the ear is dry.
- Antiseptic Powder or Ointment: In case of minor irritation, a little antibiotic ointment or antiseptic powder can help prevent infection. Always consult your vet if irritation is more than minor.
- Powder (e.g., Gold Bond Medicated Powder): Some owners like to dust the ear canal and outer ear with a little powder before posting to absorb moisture and prevent irritation.
Here's a quick look at some common posting materials:
| Material | Pros | Cons | Best For |
|---|---|---|---|
| Zonas Porosity Tape | Breathable, good adhesion, less irritation | Can be slightly more expensive, requires practice | Most Dobermans, all stages of posting |
| Backer Rod | Inexpensive, customizable diameter, lightweight | Needs to be cut and prepared, might be too stiff | Larger ears, stronger cartilage, longer posts |
| Unscented Tampons | Soft, absorbent, easy to use, readily available | Can be too thick for very small ears, less rigid | Younger puppies, smaller ears, sensitive skin |
| Medical Adhesive | Improves tape adhesion, protective barrier | Added cost, can be messy, needs gentle removal | Oily ears, active dogs, difficult tape jobs |
| Adhesive Remover | Essential for gentle tape removal | Adds cost, can be oily, requires careful cleaning | Every removal session |
Remember that investing in quality supplies is part of ensuring a successful outcome and preventing complications. While you're trying to save on professional posting fees, cutting corners on materials is a false economy that could lead to much higher vet bills down the line.
A Step-by-Step Guide to Proper Ear Posting
This is where the rubber meets the road. Posting ears isn't just about wrapping tape; it's about proper placement, tension, and hygiene. If you've been wondering about Posting Fees After a Doberman Crop, mastering this yourself is how you avoid them. This process needs to be done calmly and confidently, as your Doberman will pick up on your anxiety.
Step 1: Preparation is Key
Before you even think about tape, ensure your Doberman is relaxed and you have a clean, well-lit workspace.
- Remove Old Posts (if applicable): If you're changing old posts, use your adhesive remover generously. Apply it to the tape and let it soak in for a few minutes. Gently peel the tape away, working slowly to avoid pulling hairs or skin. Take your time here – a rushed removal can cause pain and make your Doberman dread future sessions.
- Clean the Ears: Once the old posts are off, thoroughly clean the entire ear, inside and out. Use cotton balls with alcohol or witch hazel to wipe away any dirt, wax, or adhesive residue. Make sure to get into all the nooks and crannies. Pay special attention to the base of the ear where moisture can accumulate.
- Dry Completely: This is crucial. The ear must be completely dry before new posts go in. You can gently blot with a soft cloth or let it air dry for 10-15 minutes. Any moisture trapped under the tape can lead to skin irritation and infection. If you're concerned about potential irritation, a light dusting of antiseptic powder (like Gold Bond) can help keep the ear dry.
Step 2: Creating Your Posts
Your posts need to be sturdy yet comfortable.
- Cut the Backer Rod/Tampons: For backer rod, cut a length slightly shorter than your Doberman's ear. You want the post to extend just to the tip of the ear, not past it. If using tampons, you might need to unwrap them and cut them to length.
- Add a "Base" (Optional but Recommended): For extra stability, some people create a small "base" at one end of the backer rod by wrapping a small piece of Zonas tape around it multiple times, creating a slightly wider, padded end. This wider end will rest at the bottom of the ear canal.
- Wrap for Support: Take a strip of Zonas tape (sticky side out) and wrap it around the backer rod or tampon, creating a sticky surface all around the post. This gives the outer layers of tape something to adhere to and helps the post grip the ear. Make sure the sticky side is facing out for this inner layer, otherwise the ear will stick to the post itself.
Step 3: Inserting and Taping the Ears
This is the most critical part. Precision matters.
- Stretch the Ear: Gently stretch your Doberman's ear upwards, extending it to its full length. This helps to eliminate wrinkles in the ear leather, which can cause pressure points and make the ear sit incorrectly.
- Insert the Post: Carefully insert the prepared post into the ear canal, sticky side out. Gently push it down until the base (the wider end you made, or simply the bottom of the tampon) sits snugly in the natural pocket at the bottom of the ear canal. Do not jam it down forcefully; it should feel comfortable, not painful. The top of the post should align with the tip of the ear.
- Secure the Base: While holding the ear straight up with the post inside, take a strip of Zonas tape about 6-8 inches long. Starting at the very base of the ear, where it meets the head, wrap the tape around the ear and the post. This first strip is vital for anchoring the post. Make sure the ear is pulled taut and smooth against the post as you wrap.
- Wrap Upwards: Continue wrapping strips of tape around the ear and post, working your way up the ear. Overlap each strip slightly. The goal is to provide even support without creating wrinkles or putting too much tension in one spot. Ensure the ear leather is smooth against the post. Avoid wrapping too tightly, as this can cut off circulation, but wrap firmly enough to keep the ear straight. Leave the very tip of the ear uncovered to allow for air circulation and to monitor for swelling.
- The "Bridge" or "Brace" (Optional): Many experienced Doberman owners use a brace or bridge to connect the two ears across the top of the head. This helps ensure both ears stand evenly and prevents them from flopping outward. A common method is to use a strip of Zonas tape, twisted into a figure-eight, connecting the top third of each posted ear. Ensure this bridge isn't too tight, allowing your Doberman to move their head comfortably.
Step 4: Checking for Comfort and Security
Once posted, observe your Doberman.
- Wiggle Test: Gently wiggle the ear. The post should feel secure and not easily shift.
- Comfort Check: Look for signs of discomfort: excessive head shaking, pawing at the ears, whining, or tilting the head unnaturally.
- Color Check: Briefly check the tips of the ears (if left uncovered) for normal color. Any discoloration could indicate the tape is too tight.
- Sniff Test: After a day or two, give the ears a sniff. A foul odor could indicate infection or moisture buildup, meaning the posts need to be removed and the ears cleaned.
The posts should stay in for about 5-7 days, or until they become loose, get wet, or start to smell. Then, you remove them, clean the ears, let them air out for a few hours (or even overnight if no signs of irritation), and repost. This cycle continues until the ears stand on their own.
Troubleshooting Common Issues and Knowing When to Call for Help
Even with the best intentions and meticulous effort, you'll likely encounter a few bumps in the road. This is normal, but knowing how to address them quickly is crucial for your Doberman's comfort and the success of the posting process.
Skin Irritation and Infections
This is perhaps the most common and concerning issue for DIY posters. Trapped moisture, tape applied too tightly, or an allergic reaction to the tape can all cause irritation.
- Signs: Redness, swelling, foul odor, discharge, excessive scratching or pawing at the ears, and discomfort when you touch them.
- Action: Immediately remove the posts. Clean the ears thoroughly with an antiseptic solution (like diluted Betadine or chlorhexidine rinse). Allow the ears to air out completely, perhaps for a day or two, to heal. You can apply a thin layer of an over-the-counter antibiotic ointment (like Neosporin, but consult your vet first) or an antiseptic powder. Do not repost until the irritation has completely resolved. If the irritation is severe, or if you see pus, significant swelling, or your Doberman is in pain, it's time to call your veterinarian. An infection can quickly spiral out of control and require prescription antibiotics. Remember, your Doberman's health always comes first, and a visit to the vet for an infection is far more expensive than any posting fee you were trying to save.
Ears Not Standing After Weeks or Months
It can be incredibly disheartening to remove posts after weeks of effort, only for an ear to flop right back down. Don't despair, this is very common!
- Possible Reasons: Insufficient time (cartilage isn't strong enough yet), incorrect posting technique (posts not deep enough, not enough tension, or too much tension causing wrinkles), or simply genetics (some Dobermans just have heavier ear leather that takes longer).
- Action: Patience is your best friend here. It simply means you need to keep posting. Re-evaluate your technique – are the posts firm, deep, and supporting the entire ear? Are you leaving them on long enough between changes? You might also want to leave the ears unposted for a few hours (or even overnight) to let them "breathe" before reposting. Make sure your Doberman is getting excellent nutrition, including a diet rich in appropriate proteins and healthy fats, which can contribute to overall cartilage health. Brands like Ollie often offer tailored nutrition plans, and you can always consult your vet about specific supplements if you're concerned about cartilage development, though food should always be the primary source.
- Persistent Flopping: If one ear consistently flops, it might require a longer post or a different taping method to address a specific weak spot. You can also try making the post itself a little stiffer by wrapping more tape around the backer rod before inserting it.
Doberman Discomfort or Chewing
Some Dobermans just hate the posts. They’ll shake their head, paw at their ears, or try to rub them off on furniture. A few will even try to chew the posts out.
- Action: First, ensure the posts aren't causing actual pain or irritation. If they are, remove them and re-evaluate. If it’s just annoyance, distraction is key. Offer a favorite chew toy (like something from Chewy's vast selection), play a game, or go for a walk immediately after posting. Positive reinforcement is your friend; reward calm behavior when the posts are in. For chewers, a light, comfortable muzzle can be a temporary solution for a short period after posting, or during unsupervised moments, to prevent them from damaging the posts or their ears. Bitter apple spray applied to the tape can sometimes deter chewing, but ensure it doesn't irritate the skin.
Knowing When to Get Professional Help
While DIY posting saves money, there are times when a professional's eye is invaluable. If you're struggling with persistent irritation, a post that won't stay, or ears that simply refuse to stand despite months of consistent effort, don't be afraid to reach out.
- Veterinarian: For any signs of infection, severe irritation, or if you suspect a problem with the crop itself that's preventing successful posting. Your vet can assess the ear health and provide appropriate medical treatment.
- Experienced Doberman Breeder or Vet Tech: Many breeders offer "posting services" or guidance, even if you didn't get your puppy from them. Their experience can be a lifesaver. They can show you hands-on how to create and apply posts correctly, troubleshoot specific issues you're facing, and tell you if your technique needs adjustment. It might cost a small fee, but it's often far less than constant vet visits and can prevent you from giving up altogether. Learning from someone who has successfully posted dozens of Doberman ears is an invaluable resource. Before you go, you might want to consider pet insurance from providers like Healthy Paws, which can help cover unexpected vet bills if complications arise during this delicate process.
Ultimately, posting your Doberman's ears yourself is a rewarding but challenging endeavor. It requires commitment, patience, and a willingness to learn. But with the right supplies, a careful approach, and knowing when to ask for help, you absolutely can achieve those proud, erect Doberman ears you envisioned.
Disclaimer
This article is for general informational purposes only and does not constitute professional advice. Laws, prices and regulations vary by location and change over time. Consult a qualified professional for guidance on your specific situation.