How Many Posting Changes a Doberman Needs
If you've just brought home a Doberman puppy with freshly cropped ears, or you're contemplating the procedure, you're likely staring at those bandaged ears and wondering, "Just how many times am I going to have to do this?" It’s a completely fair question, and the truth is, it feels like a lot. This guide is here to walk you through the reality of Doberman ear posting, what to expect, and why this seemingly endless cycle of taping and re-taping is so crucial for achieving those iconic, upright ears.
Understanding the Doberman Ear Cropping Process and Immediate Aftercare
Let's start from the beginning. Ear cropping itself is a surgical procedure, typically performed when a Doberman puppy is around 7 to 12 weeks old. It’s a decision many owners grapple with, and it’s important to find a veterinarian experienced in the procedure. If you’re still in the research phase, understanding The Weeks a Doberman Crop Has to Happen In can help you time things right. The style of the crop, often chosen by the owner or guided by the vet, will ultimately influence the final look, and consequently, can subtly affect the posting process. For those looking into the initial investment, be prepared for The Average Price of a Doberman Ear Crop.
After the surgery, your puppy will come home with their ears taped in a cup or overhead bandage, designed to protect the incision sites during the initial healing. This isn't the "posting" we usually talk about; it's a critical bandage for wound recovery. This initial bandage usually stays on for about 7 to 14 days, depending on your vet's assessment and how well the ears are healing. During this time, your job is primarily to keep the bandage dry and intact, monitor for any signs of swelling, discharge, or foul odor, and manage any pain or discomfort your puppy might have. Many owners choose to get pet insurance like Healthy Paws around this time, just in case any unexpected complications arise with the surgical recovery or subsequent postings.
Once the initial protective bandage comes off, which is usually done by your vet, the real posting journey begins. The stitches are typically removed, and the ears are cleaned thoroughly. This first re-taping is often performed by the veterinarian or a skilled technician, setting the stage for you to take over at home. They'll show you the ropes, demonstrating the technique and the materials to use.
The Journey of Posting: Why It Takes So Many Changes
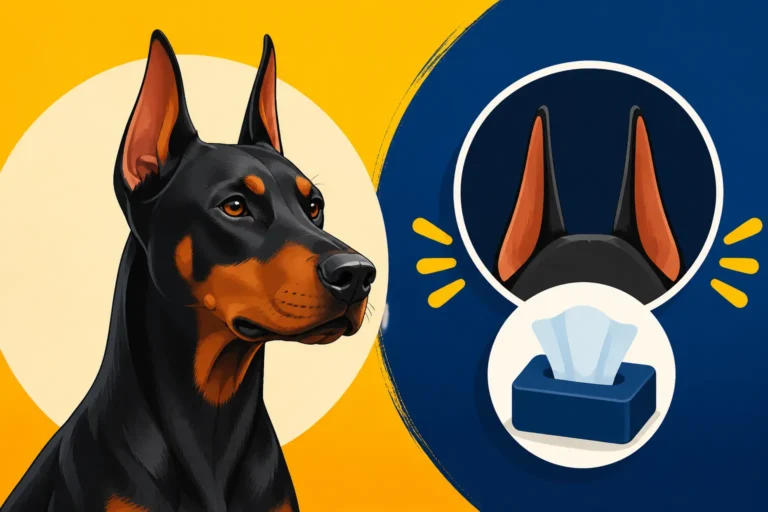
The reason Doberman ears require so many posting changes isn't about the healing of the surgical cut itself – that usually heals within a few weeks. It's all about training the cartilage to stand erect. Think of it like a plant stake; you're providing continuous support and guidance until the cartilage strengthens enough to hold its shape naturally. This process is highly individual, varying from one Doberman to another.
The Role of Cartilage Strengthening
A Doberman puppy's ear cartilage starts soft and pliable. The cropping procedure removes some tissue, but the remaining cartilage needs to be trained to stand. Each posting change offers a fresh opportunity to:
- Support Proper Shape: Ensure the ears are positioned correctly, without leaning in or out, and that the tips are straight.
- Allow Skin to Breathe: Remove old tape, clean the ears, and let the skin get some air to prevent irritation and infection. This is crucial for maintaining healthy skin.
- Stimulate Circulation: The gentle pressure of posting, followed by the brief break during changes, helps promote healthy blood flow, which is vital for cartilage development.
Many owners get disheartened when they see their Doberman's ears flop as soon as the posts come off for a cleaning. This is completely normal! The cartilage isn't strong enough yet. It's a continuous, patient effort. You’re essentially giving the ears a gym workout, building their strength over time.
Typical Posting Schedules and Duration
There's no single "magic number" of posting changes. However, a common schedule involves changing the posts every 5 to 7 days. This frequency allows enough time for the ears to be supported but not so long that the tape becomes too dirty, moist, or loses its adhesive quality, which can lead to skin issues.
The total duration of posting can range significantly, typically from 3 to 6 months, but sometimes extending up to a year or even longer for particularly stubborn ears. Factors like genetics, the quality of the initial crop, the consistency of posting, and even the puppy's growth rate all play a part. This is definitely a long-term commitment. If the ears aren't standing well after several months, you might worry about Whether a Doberman Crop Can Fail and Cost More, but persistence often pays off.
Factors Influencing the Number of Posting Changes
Several elements come into play when determining how many times you'll be taping those ears. Understanding these can help you manage expectations and even optimize the process.
Individual Doberman Variations
Just like people, every Doberman puppy is unique. Some have naturally stronger ear cartilage, while others have softer, more pliable ears that require extended support. The length of the crop also matters; a shorter crop generally takes less time to stand than a very tall, show-style crop. You might notice differences even within the same litter!
- Genetics: The inherent strength and density of your Doberman's ear cartilage is largely genetic. Some lines naturally produce ears that stand quicker than others.
- Crop Style: A longer, more elegant show crop requires more extensive posting than a shorter, pet-style crop, as there's more ear tissue to support upright. The Length of Doberman Crop Owners Choose can have a big impact.
- Puppy's Health and Nutrition: A healthy, well-nourished puppy with strong bones and cartilage will typically fare better. Ensuring your Doberman receives a balanced diet, perhaps even high-quality fresh food like Ollie, can support overall healthy development, including cartilage strength.
Posting Technique and Materials
The way you post the ears and the materials you use are incredibly important. A poorly done post can be uncomfortable, ineffective, or even cause damage to the ear.
Common Posting Materials:
| Material Type | Pros | Cons | Notes |
|---|---|---|---|
| Backer Rod | Lightweight, readily available, good support | Can be too thick for small ears, needs careful shaping | Popular choice, often cut to size from hardware stores |
| Tampons | Absorbent, readily available, good internal support | Can be bulky, absorb moisture, less rigid than backer rod | Good for initial stages, can be combined with other materials |
| Zip Ties (modified) | Very rigid, excellent support for stiff ears | Requires careful padding, can cause pressure sores if not done right | Best for experienced posters, typically for stubborn ears |
| Paper Towel/Cotton | Soft, good for padding/wrapping supports | No structural support on their own | Used as an outer wrap, not the core support |
| Adhesive Tape | Secures posts, comes in various strengths | Can cause skin irritation, must be breathable | Hypoallergenic paper tape or Zonas tape are commonly recommended |
| Skin Adhesive (Tuf-Foot) | Extra grip to prevent slippage | Must be used sparingly, can be irritating | Use with caution, mostly for experienced posters |
You can often find all the necessary supplies, from medical tape to backer rod, through online retailers like Chewy. Having a good stock is essential, as you'll be going through a fair bit!
The Importance of Consistency and Correct Application
This is perhaps the most critical factor. Inconsistent posting, or ears left unposted for too long, can set back the entire process. Each time the ears are allowed to flop for an extended period, the cartilage starts to "forget" its upright position.
- Cleanliness: Before each posting, clean the ears thoroughly. Use an astringent like rubbing alcohol to remove any tape residue and dry the skin completely. This prevents skin irritation and infection, which can halt the posting process. For more specific guidance, check out Ear Hygiene Once a Doberman's Crop Has Healed.
- Proper Placement: The posts must be inserted correctly into the ear canal and taped securely to hold the ear straight up, not leaning in or out.
- Avoiding Over-Tightening: Tape should be secure but never so tight that it cuts off circulation or causes discomfort. Swelling, coldness to the touch, or excessive scratching are signs the tape is too tight. If you notice any issues that seem serious or lead to a skin infection, a vet visit might be needed, and that’s when pet insurance like Healthy Paws can be a real lifesaver.
- Patience and Persistence: There will be days when you feel like giving up. The ears might seem like they're never going to stand. This is normal. Just remember that every consistent post brings you closer to the goal.
Recognizing When Your Doberman's Ears Are Done Posting
Knowing when to stop posting is a monumental moment for any Doberman owner! It's the finish line of a long, often tedious, marathon.
The "Float Test"
The most common way to test if your Doberman's ears are ready is the "float test." After removing the posts for cleaning, allow the ears to remain unposted for a day or two. Observe them closely.
- Good Sign: If the ears stand proudly and confidently for 24-48 hours, without any flopping, weak spots, or leaning, you're likely in the clear. They might droop slightly when your Doberman is relaxed or tired, but should perk right back up when alert.
- Bad Sign: If they start to droop, sag, or show any weakness, it means the cartilage isn't quite strong enough yet, and you'll need to go back to posting for another few weeks.
Sometimes, one ear might stand perfectly while the other is still a bit wobbly. In this case, you might only need to post the weaker ear. This asymmetrical posting is common and helps ensure both ears end up looking great.
When to Consult Your Vet Again
If you've been consistently posting for several months, and the ears still aren't standing, it's a good idea to consult your cropping veterinarian or a specialist. They can assess the cartilage and the overall ear health. In some rare cases, if the initial crop was not ideal or if there's significant scar tissue, the ears may never stand perfectly. However, this is not the norm, and often, a fresh pair of eyes or a slightly different posting technique can make all the difference.
It's important to remember that the cost of posting is ongoing, from supplies to potential vet check-ups. It’s part of the wider commitment you make to the breed, much like considering What a Doberman Costs Month to Month for their entire lifespan. While it might seem like a huge undertaking, seeing those beautiful, erect Doberman ears is a testament to your dedication and patience.
Disclaimer
This article is for general informational purposes only and does not constitute professional advice. Laws, prices and regulations vary by location and change over time. Consult a qualified professional for guidance on your specific situation.